Sports is one of the hardest things for any TV to display well. The camera pans quickly, the ball moves fast, the crowd is full of fine detail, and the broadcast signal isn’t always clean. If you’ve ever watched a match and felt the picture looked blurry, jittery, or strangely “too smooth,” you’re not alone.
The good news is that a modern 4K QLED TV can be excellent for sports—especially because QLED TVs tend to stay bright and colorful in real living rooms. The key is knowing what motion settings actually do, and how to tune them so you get a sharper, cleaner sports picture without turning the game into a soap opera.
This guide explains motion in plain terms, then gives you a practical setup you can save as a dedicated “Sports” profile.
1) First, the two motion problems people confuse: blur vs judder
Most “motion complaints” fall into one of these categories:
Motion blur (looks soft)
This is when fast movement looks smeared or unclear. You notice it most when:
Blur is influenced by:
panel refresh capability (60Hz vs 120Hz/144Hz)
how the TV handles motion
how clean the source signal is
Judder (looks choppy)
Judder feels like uneven motion, especially on pans. It’s often caused by:
frame rate mismatch (like 24fps content displayed on a 60Hz screen)
broadcast signal conversion
certain motion settings being off or too aggressive
Sports content is usually not 24fps like movies, but judder can still happen depending on how the feed is processed and how the TV’s motion features are set.
Key point: Blur and judder have different causes. The correct fix depends on which one you’re seeing.
2) Why sports looks different across sources (broadcast vs streaming)
Before changing settings, understand that sports quality depends heavily on the source.
Traditional broadcast / cable
Often stable, but can be compressed. Motion can look okay, but fine detail may break up during fast movement.
Streaming sports
Streaming varies more because:
bitrate fluctuates with internet stability
some streams use heavier compression
resolution may drop during peak motion
This is why a TV can look great with one sports app and mediocre with another, even in the same match.
Quick troubleshooting tip: If motion looks worse than usual, check whether the stream quality dropped. A TV can’t restore detail that compression removed.
3) The refresh rate advantage: 60Hz vs 120Hz vs 144Hz for sports
For sports, refresh rate can help—but it’s not the only factor.
60Hz
Sports can still look fine, but fast pans may show more blur. Motion settings become more important.
120Hz
This is where sports gets noticeably easier for TVs to display. You often see:
144Hz
144Hz doesn’t automatically make sports content “144fps,” but it can provide:
smoother motion handling headroom
better stability when motion settings are tuned carefully
a more responsive feel if you also game
In practical sports viewing, 120Hz is the main “threshold” where you feel the improvement.
4) Motion settings explained (what each one usually does)
TV menus vary, but most motion controls fall into similar categories:
Motion smoothing / interpolation
This tries to create extra frames between real frames to make motion look smoother.
Pros:
Cons:
can create the “soap opera effect”
can produce artifacts (distorted edges around players)
can make motion feel unnatural for many viewers
Blur reduction
This focuses on sharpness during motion. On many TVs, this is the setting that helps sports most.
Judder reduction
This targets choppiness—often more relevant for movies, but can affect some sports feeds depending on how they are processed.
Black frame insertion (BFI) / “Clear motion”
Some TVs use techniques that reduce blur by inserting dark frames. It can improve clarity, but it may reduce brightness and bother sensitive viewers.
Practical advice: For sports, start with mild blur reduction, then adjust judder reduction only if needed.
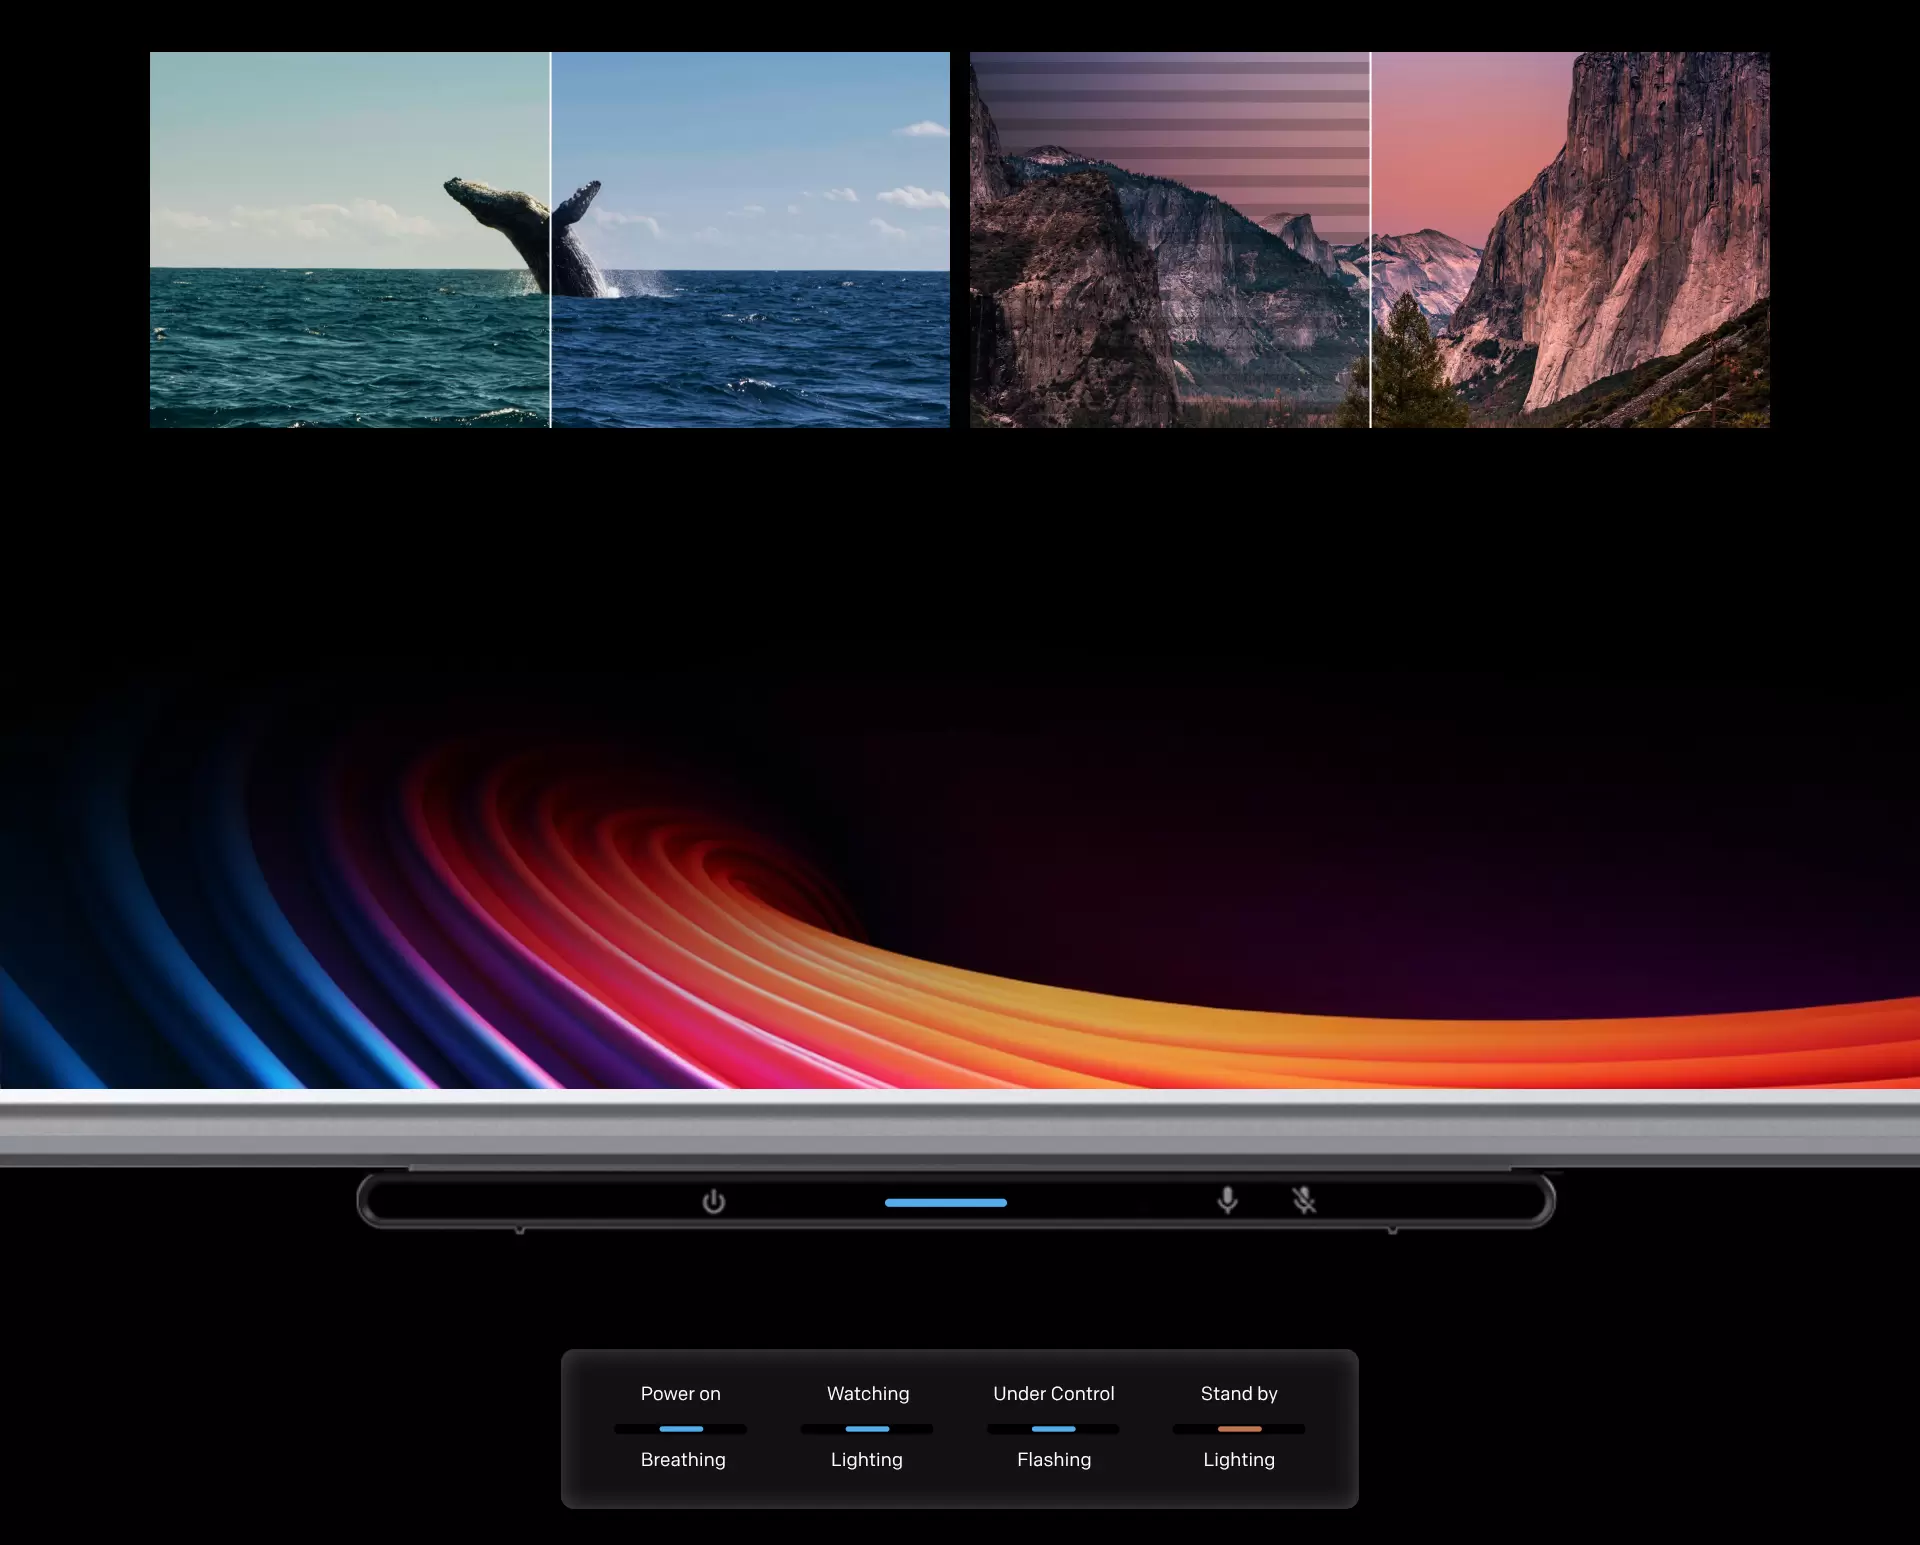
5) The best “Sports Mode” setup (a practical, safe starting point)
Here’s a sports profile that works well on many 4K QLED TVs. The goal is: sharper motion without fake smoothness.
Step A: Choose the right base picture mode
Avoid extreme modes:
Step B: Set motion to “low, not zero”
Motion smoothing: Off or Low
Blur reduction: Low to Medium
Judder reduction: Low (only increase if you see choppiness during pans)
Step C: Keep sharpness moderate
Too much sharpness can add halos around players and make the image look crunchy. Use moderate sharpness and let the 4K resolution do its job.
Step D: Reduce heavy noise reduction
Sports feeds can already be compressed. Strong noise reduction can blur detail and make the pitch/grass texture look smeared.
Set noise reduction to Off or Low.
Step E: Create a daylight-friendly brightness level
Sports is often watched with lights on. Raise brightness/backlight to a comfortable level, but don’t max it if it makes whites look harsh.
6) How to avoid the “fake smooth” look (soap opera effect)
The soap opera effect happens when motion smoothing is too strong. The easiest way to avoid it:
Keep interpolation low
Prefer blur reduction over full smoothing
If you notice faces look too “video-like,” reduce motion smoothing first
A good sports setup should feel stable and clear, but still natural.
7) A quick test scene to dial in motion settings
You don’t need a calibration disc. Use real sports moments:
A slow camera pan across the field
A close-up of players running across the screen
A fast ball movement sequence
A replay shot (often heavily processed by broadcasters)
Adjust in this order:
reduce motion smoothing until the “fake” look disappears
increase blur reduction slightly if motion still looks soft
adjust judder reduction only if pans still look choppy
Save this as your Sports preset. You’re done.
8) Why motion settings can look different in daytime vs nighttime
In bright rooms, your eyes are more sensitive to blur because the overall picture is brighter and higher contrast. At night, motion issues might be less obvious but the soap opera effect can feel more noticeable.
That’s why it’s smart to keep:
a Day Sports profile (brighter, mild motion clarity)
a Night Movie profile (more natural motion, less processing)
9) The “three profiles” approach (sports / movies / gaming)
If you want your TV to feel consistently great without constantly changing sliders, save three profiles:
Sports Profile
Movie Profile
Gaming Profile
Game mode
Motion smoothing off
VRR/ALLM enabled
Lowest input lag
This approach makes your TV feel “smart” even if you never touch advanced settings again.
10) Internal link suggestion (to your product page)
This sports motion article is a perfect place to guide readers to your main product page naturally, because sports viewers often want a bright, smooth TV that handles motion well.
Final takeaway
For sports, you don’t need extreme motion smoothing. You need:
the right base mode
mild motion clarity settings
a stable stream or broadcast signal
and a saved Sports profile you can trust
Do that, and a 4K QLED TV can deliver sharp, natural sports motion without the “plastic” look.
Source: