A lot of people buy a 4K QLED TV, set it up in five minutes, and then spend the next year thinking: “This is good… but why do movies sometimes look too bright, too gray, or oddly artificial?” The truth is, most TVs ship with factory settings designed to stand out under showroom lights—not to look natural in your living room at night.
The good news: you don’t need expensive calibration equipment to get a noticeably better movie picture. With a few simple adjustments—and by saving two profiles (Day and Night)—you can make films look more cinematic, with better shadow detail, more natural skin tones, and fewer “wow but weird” moments in HDR.
This guide focuses on simple, safe changes that work on many QLED TVs, and avoids settings that create more problems than they solve.
1) Start with a reality check: your room is part of the picture
Before touching any settings, look at your viewing environment:
Do you watch movies mostly at night with lights dim?
Do you watch in a bright living room with lamps on?
Do windows reflect into the screen in the evening?
Is your TV mounted higher than eye level?
Why this matters: even the best TV can look “washed out” if the room is bright, or “too harsh” if you watch in darkness with a high brightness profile.
That’s why the Day vs Night approach works so well: you’re not chasing one “perfect” setting. You’re matching the picture to real lighting.
2) Choose the right base picture mode (this does 60% of the work)
For movies, start with one of these modes:
Avoid these modes for movie calibration:
Vivid / Dynamic (usually too blue, too bright, over-processed)
Sports (motion and color tuning is not film-friendly)
Game (low latency, but often sacrifices cinematic tone)
Why cinema/movie modes are better:
They usually reduce aggressive sharpening, aim for more accurate color temperature, and handle shadow detail more naturally.
3) The five settings that matter most for movie quality
Different TVs label settings differently, but these are the core areas:
A) Backlight / brightness (overall light output)
This is the #1 cause of “movie looks wrong” at home.
For night viewing, lower it until black bars look darker and the screen feels comfortable.
For day viewing, raise it so the picture doesn’t look gray or dull.
Tip: If your TV has “Eco” or power saving modes, disable them for movie profiles. They can cap brightness and make HDR look weak.
B) Contrast (white level control)
Contrast controls how bright the brightest areas can get. Too high can clip highlight detail (snow becomes flat white). Too low can make the image look dull.
Set contrast so:
whites look clean, not blown out
bright scenes still show texture (clouds, fabric detail)
C) Color temperature (warm vs cool)
This is where movie “cinema look” usually comes from.
Most TVs ship too cool (blue-ish) because it looks bright in stores. For movies, choose:
If warm looks “yellow” at first, give it time. Your eyes adapt quickly, and skin tones usually look more natural.
D) Sharpness (less is often more)
Over-sharpening creates halos around edges, and makes faces look unnatural.
For 4K movie content:
A good movie picture feels detailed but not crunchy.
E) Motion settings (keep it minimal for film)
Most movies are 24fps. Motion smoothing can turn films into that “soap opera” look.
For movie mode:
If you’re sensitive to stutter during pans, try the lowest judder reduction setting—just enough to smooth without changing the film feel.
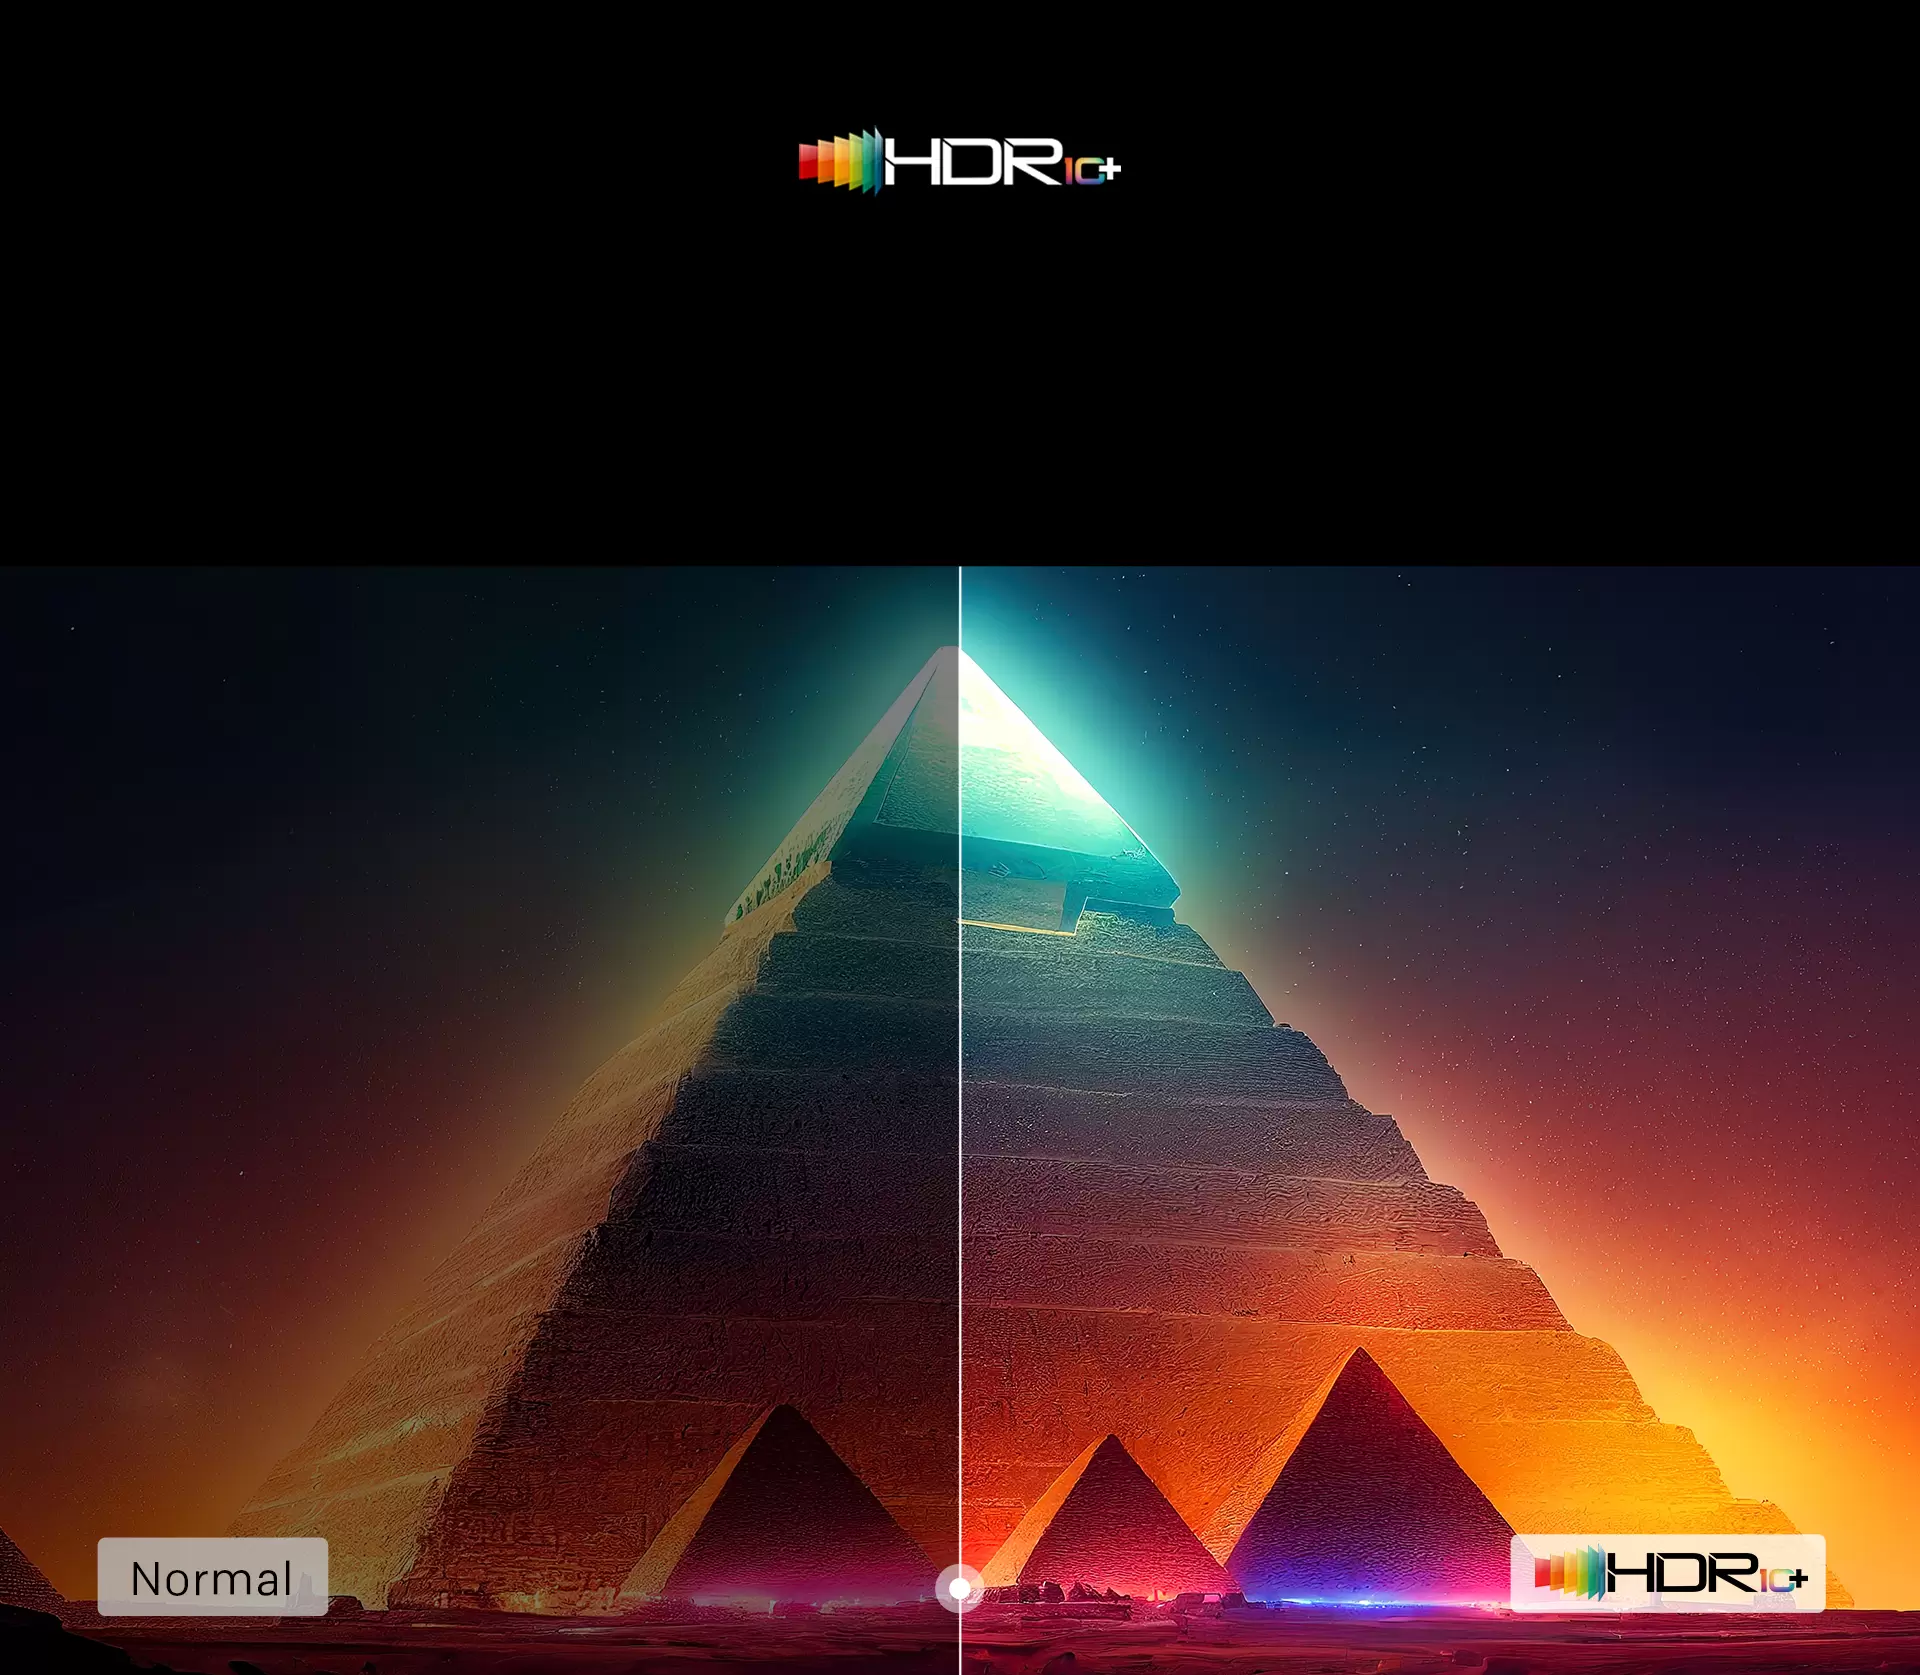
4) HDR movie setup: why HDR sometimes looks dim (and the simple fix)
HDR is designed to show brighter highlights and more color range, but many people complain:
“HDR looks darker than SDR”
“HDR loses shadow detail”
“HDR looks gray in daylight”
The real reason
Many HDR presets are tuned for dark-room viewing. In bright rooms, HDR can feel underpowered.
The simple fix: HDR Day vs HDR Night
Create two profiles:
HDR Night (cinema)
HDR Day (bright room)
Standard HDR or a brighter movie HDR mode
higher brightness/backlight
keep warm-ish color temp (don’t go extreme blue)
keep motion minimal for movies
This gives you an HDR experience that works in real conditions.
5) Local dimming and contrast enhancers: use carefully
Some QLED TVs offer:
local dimming level
contrast enhancer
dynamic contrast
These can improve perceived contrast, but they can also crush detail or cause “pumping” (brightness shifting) in certain scenes.
A safe approach:
If you see:
6) Build two profiles you can trust: Day and Night
Here’s a practical template you can follow.
Profile 1: Night Movie (cinematic)
Best for: evening films, dark room, serious watching
Profile 2: Day Movie (still natural, more visible)
Best for: daytime movies, bright rooms, casual watching
Mode: Movie or Standard (if needed for brightness)
Brightness/backlight: higher
Color temp: slightly warm (don’t go too cool)
Motion: minimal
Reflection handling: adjust room lighting if possible
Why this works: you stop trying to force one setting to fit every lighting condition.
7) A quick “movie calibration” test routine (no tools required)
Pick a few scenes you know well:
A dark scene with faces (shadow detail + skin tone)
A bright outdoor scene (highlight detail)
A scene with slow camera pan (motion comfort)
A colorful scene (natural color, not neon)
Adjust in this order:
set brightness/backlight for comfort and contrast
choose warm color temperature
reduce sharpening
minimize motion smoothing
test local dimming/contrast enhancer carefully
Stop as soon as it looks natural. Over-tuning is how people ruin a good picture.
8) “Why do faces look weird?” Common causes
If faces look unnatural or waxy, it’s usually one of these:
sharpness too high
noise reduction too strong
motion smoothing too high
overly cool color temperature
Fix order:
reduce sharpness
lower noise reduction
reduce motion smoothing
set color temperature to warm
9) Internal link suggestion (fits your MQE8000 cluster)
This “movie mode” article fits perfectly into your Picture & HDR cluster and naturally leads to your product page:
Final takeaway
You don’t need professional calibration to get a cinematic picture. A few smart choices do most of the work:
start with Movie/Cinema mode
set warm color temperature
reduce sharpening and heavy processing
keep motion smoothing minimal for films
save two profiles: Day and Night
That’s how a 4K QLED TV delivers a movie experience that looks natural in your home—not just impressive in a store.
Source: